
Install WiX toolset.
Install WiX edit
Install Notepad++
Open WiX edit and create New project.
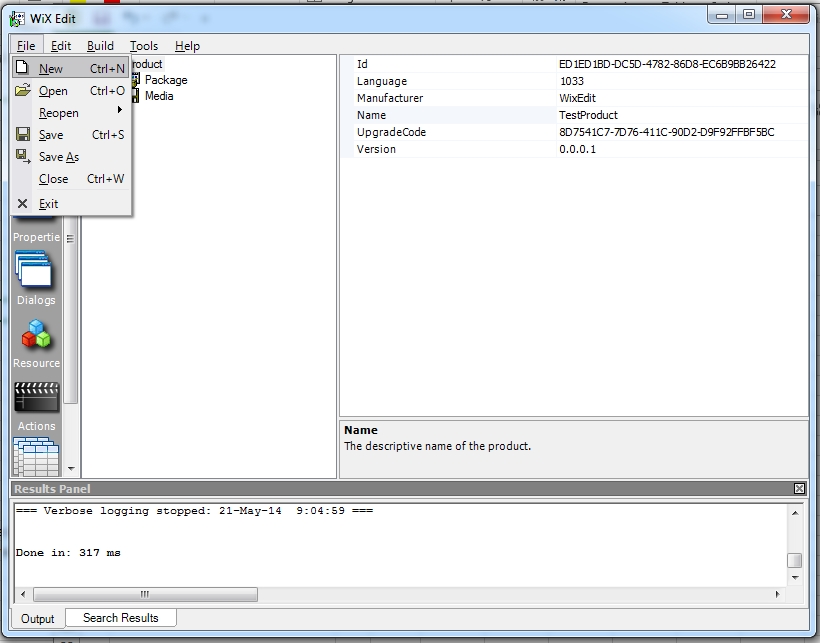
New file
This will open a wizard. Click next.
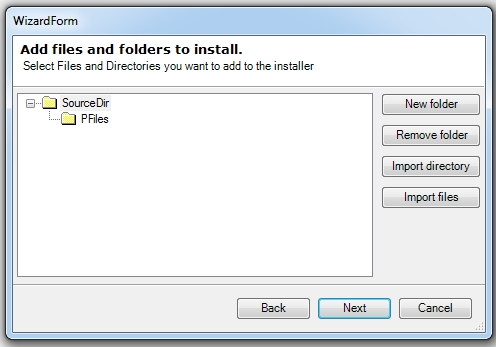
Add directory
The directory named PFiles is our Program Files directory, and files and directories added here will be copied to Program Files.
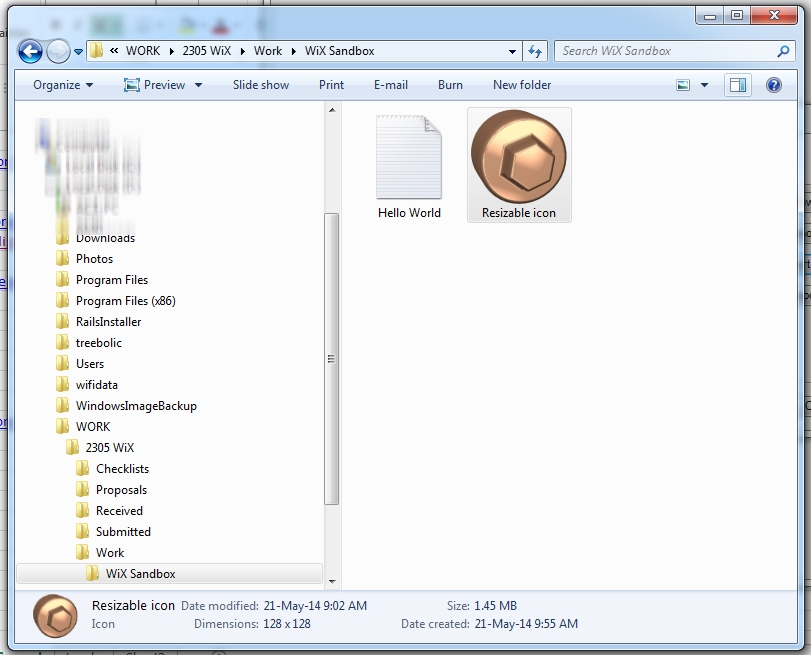
Create a sample directory in Explorer. I named mine WiX Sandbox and I copied an icon and a text file. These are the files that I would like to install into a directory of the same name on the target computer.
Create sample project
Be sure that you click on the PFile directory before you click Import. You are choosing the folder that will be copied to the Program Files directory on install. Navigate to the sample directory and choose it.
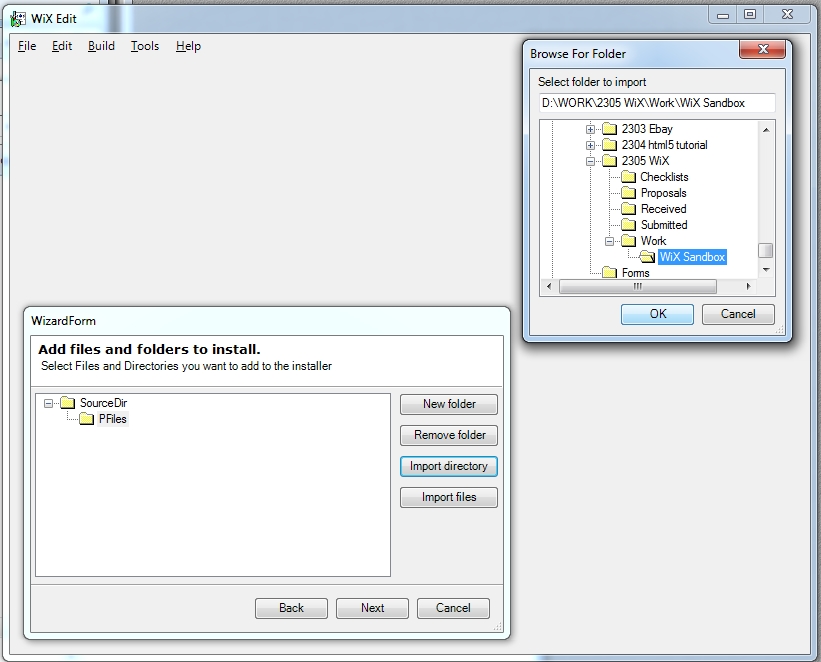
Import project directory
Click on OK and you will see your directory sitting in the Program Files folder, exactly like we want it to be. If you click on the plus signs, we see that it contains 2 components, each one containing one of our files.
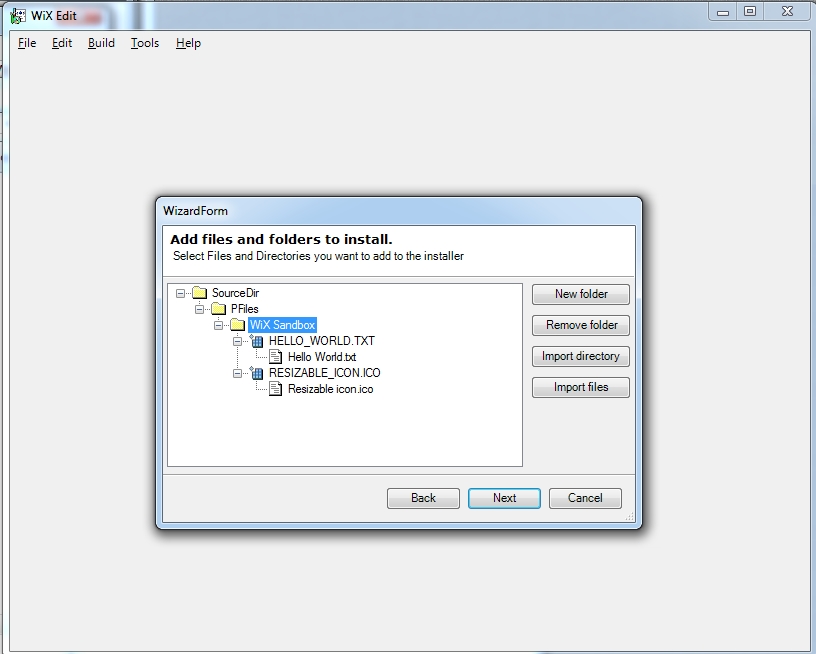
Files in program directory
What you are viewing is your program folder, sitting in Program files (which is where we would like to install our program – we have other options which we will address later). In our program folder we have 2 files which we are referring to as components – each component contains a file. More on this later.
Click Next.
We will be given a variety of interesting options. We will not choose any this time.
Click Next.
That is all we need for our first program.
Click Finish.
In place of TestProduct, give your product an interesting name. Change the manufacturer to your company name.
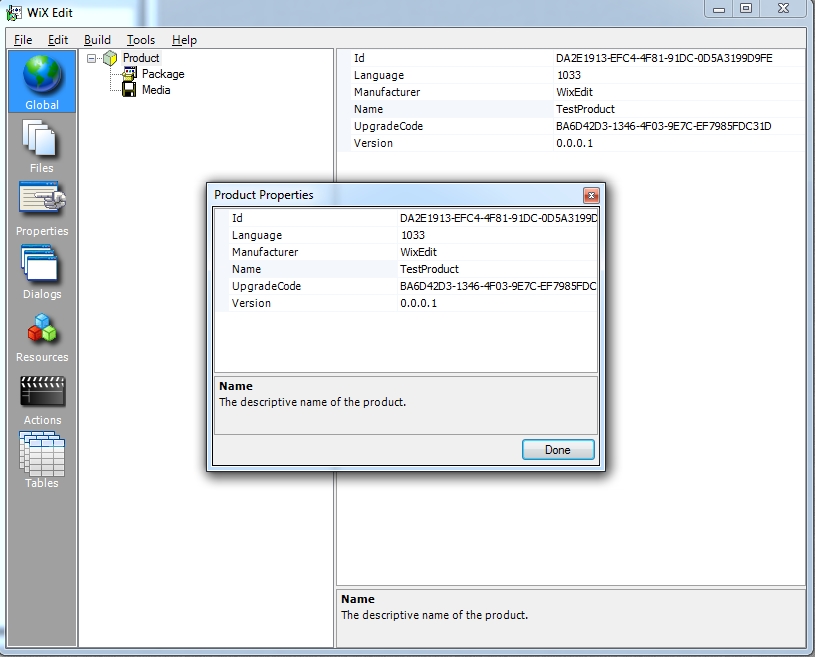
Name your product
We have created our first project. The Global tab allows you to see Product information such as name and how it is packaged and the Files tab shows you the directory and the files that we added with the wizard.
Save your project File, Save, give it a name – I called mine WiX Sandbox Project.
Next we are going to build our project Build, Build MSI setup package.
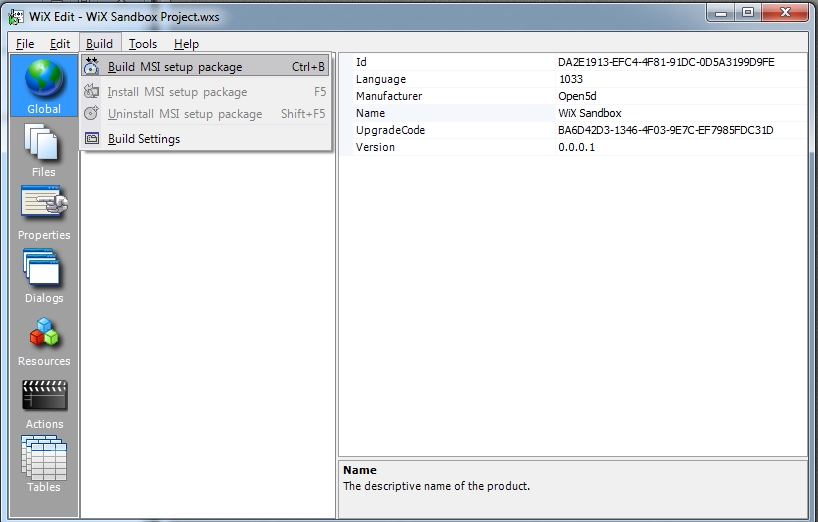
Build project
You just created your first project. You could double click on the MSI file that you just created but let’s stay in the dialog and run is from the Build menu.
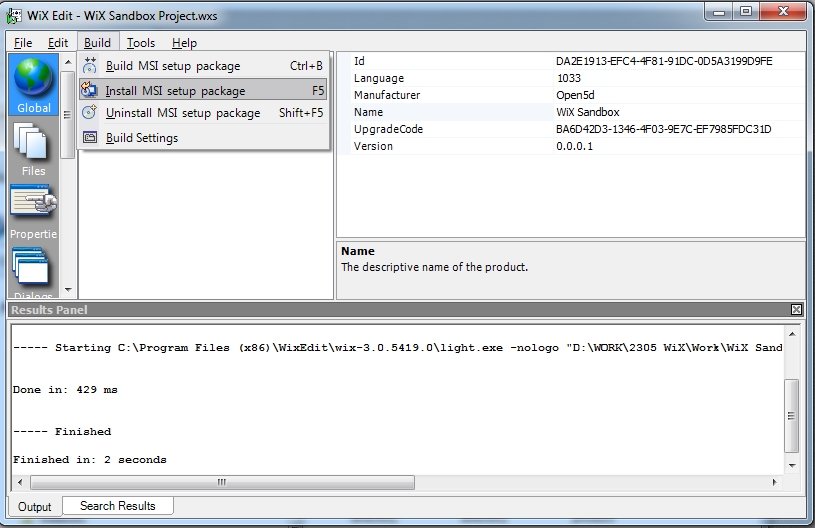
Install
If all went as planned you will see WiX working hard at setting up your program. A lot of overhead that we don’t need to think about.
Now let’s check that the program was, in fact, installed as anticipated. Navigate to the Program files directory and search for your product name.
Check that the directory contains your files. Congratulations, you have made your first MSI program using WiX and WiX edit!
Please notice that you can now go to the control panel and uninstall your program from Windows. Or we could just press on uninstall from the Build menu and save some clicking.
Now that we are convinced that we can do it, let’s start looking at what we are doing…

Nice tutorial and It helped a lot… Thanks….
how to install dependencies, before this directory copy. I mean pre-build actions. could you please guide me